

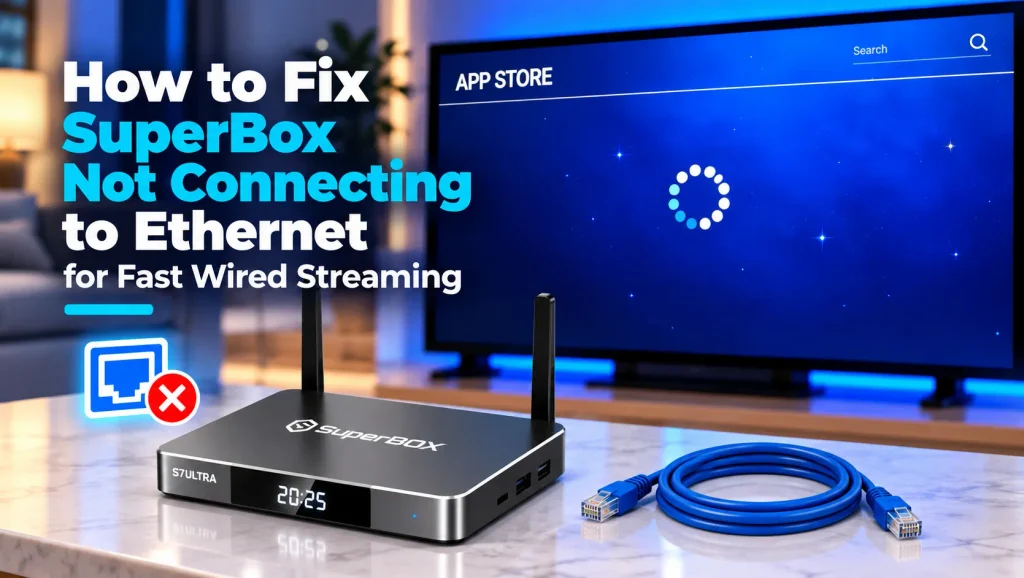
Setting up an Ethernet connection on your SuperBox provides the highest streaming stability, eliminates wireless jitter, and stops live broadcast buffering. Yet, discovering that your console refuses to recognize a wired network connection can disrupt your viewing plans entirely.
Ethernet connection failures typically stem from Wi-Fi interface conflicts, stuck DHCP IP leases, damaged network cables, or misconfigured static DNS addresses rather than broken physical ports. These glitches can be solved quickly using verified troubleshooting methods.
This comprehensive guide details step by step fixes to restore wired internet access, force Android interface priority, configure static IP settings, and resolve router handshake errors. Follow these practical routines to enjoy reliable high-speed wired streaming.
Why Your SuperBox Refuses to Recognize Ethernet Connections?
Direct physical networking is designed to be plug and play, but internal software handshakes and hardware parameters must align before data flows smoothly.
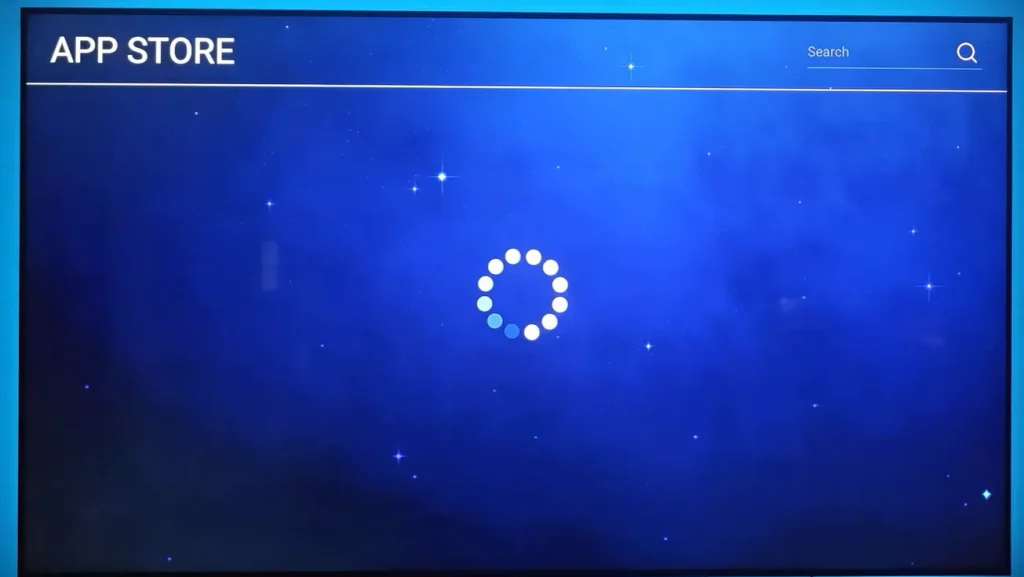
When an Ethernet cable is inserted into the rear RJ45 jack, the operating system detects electrical voltage, negotiates link speed with your router, requests an IP address through DHCP, and sets routing priority.
The most frequent root causes of SuperBox Ethernet failures include:
- Interface Priority Sticking: Android TV OS often retains active wireless routing tables, preventing the operating system from switching network traffic over to the physical Ethernet port.
- DHCP Allocation Timeout: The home router fails to assign a valid local IP address, leaving the media box stuck on an infinite obtaining IP address loop.
- Physical Link Failure: A bent connector pin, broken RJ45 clip, or faulty internal cable wire prevents electrical connection with the router.
- Router Port Restrictions: Modern ISP routers frequently assign specific LAN ports to dedicated telephone lines or restricted profiles.
- Corrupted Network Stack: Accumulated system cache or incomplete updates can corrupt network driver files.
If you experience video pauses while streaming over wireless networks, review our guide on superbox buffering issues for network optimization tips.
Rapid Emergency Troubleshooting to Restore Wired Connectivity in Two Minutes
Before reconfiguring system parameters, performing these three physical checks resolves the majority of basic connection failures.
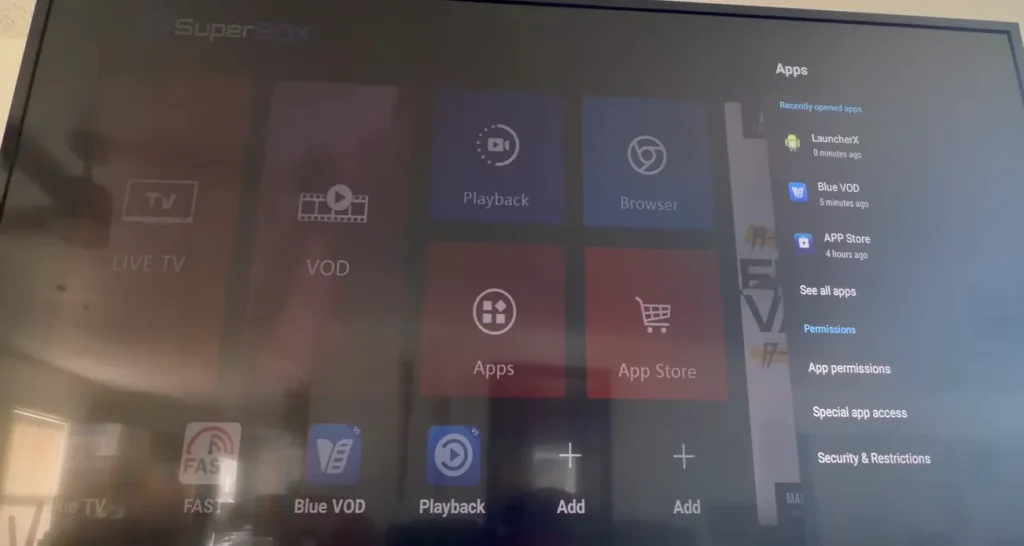
Follow these direct steps for a fast connection refresh:
- Verify Link Indicator Lights: Check the rear Ethernet jack on your SuperBox and router LAN port. A solid green light confirms a physical link, while an amber flashing light indicates active data transfer.
- Reseat Cable Connections: Unplug the Ethernet cable from both devices. Inspect the plastic clip for damage, clear any port dust, and push the cable back in until you hear a clear click.
- Perform a Cold Power Cycle: Disconnect the power cords from your SuperBox, modem, and router. Wait sixty seconds before reconnecting the modem and router. Once all router lights turn solid green, plug your SuperBox back in.
If your streaming console exhibits operating system freezes alongside connection drops, consult our guide on superbox keeps freezing for thermal and memory solutions.
Disabling Wi-Fi to Force Android Network Interface Priority
A common issue reported across user communities involves Android OS interface routing conflicts. When Wi-Fi remains turned on, the system often prioritizes wireless transmission even when a high-speed Ethernet cable is connected.
This conflict frequently causes the status menu to display connected without internet. Manually disabling Wi-Fi forces Android to bind all data packets exclusively to the physical Ethernet controller.
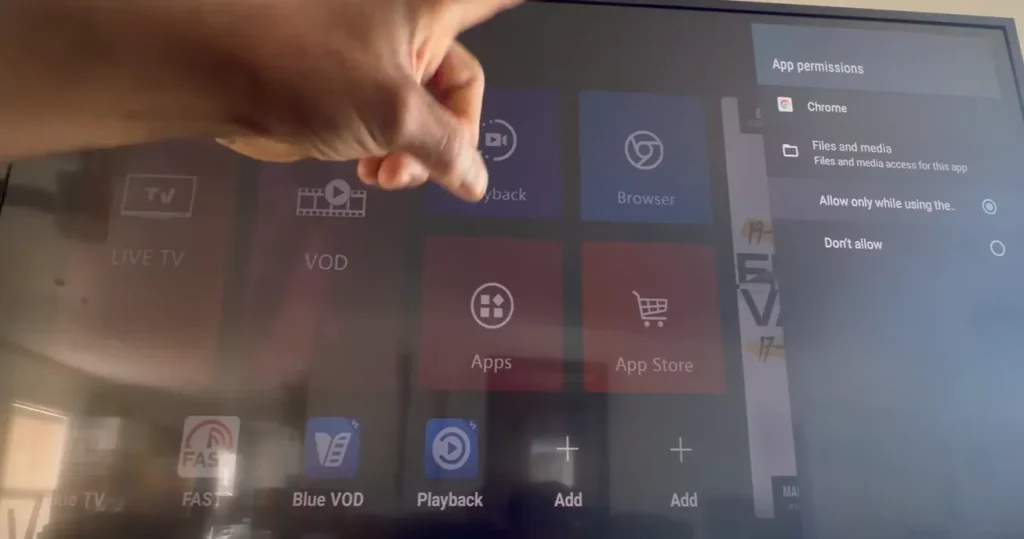
Follow these steps to disable wireless networking:
- Open Settings: From your home screen, select the Gear Icon in the upper right corner.
- Access Network Settings: Select Network & Internet from the main configuration menu.
- Locate Wi-Fi Toggle: Highlight the primary Wi-Fi toggle switch at the top.
- Turn Wi-Fi Off: Press the OK button on your remote to switch Wi-Fi to the Off position.
- Confirm Ethernet Activation: Return to the home screen. The network icon in the status bar will switch to the wired Ethernet emblem.
If you ever need to revert to wireless connectivity when moving your console, follow our detailed guide on how to connect superbox to wifi.
Assigning a Static IP Address and Custom DNS to Bypass DHCP Lockups
Residential routers frequently encounter IP address table exhaustion. When this occurs, the router refuses to assign an IP address automatically, causing the SuperBox to report wired connection failed.
Manually configuring a static local IP address and assigning high-speed public DNS servers bypasses local DHCP bottlenecks and eliminates lookup latency.
Follow these steps to establish a static IP configuration:
- Open Network Settings: Go to Settings, select Network & Internet, and click on IP settings.
- Switch from DHCP to Static: Change the assignment mode from DHCP to Static.
- Assign Device IP Address: Enter a valid local IP address, such as 192.168.1.150 or 192.168.0.150 depending on your router gateway.
- Enter Gateway Address: Set the Gateway to your main router address, typically 192.168.1.1 or 192.168.0.1.
- Set Network Prefix Length: Enter 24 for standard home subnets (255.255.255.0).
- Configure Custom DNS Servers: Set DNS 1 to 1.1.1.1 (Cloudflare) and DNS 2 to 8.8.8.8 (Google) to ensure rapid domain lookup.
If your broadband provider blocks specific IPTV data streams, installing an encrypted network tunnel will protect your connection. Explore our top recommendations in our guide on the best vpn for superbox.
Inspecting Ethernet Hardware and Testing Cable Integrity
Physical cabling issues cause a significant percentage of wired connection problems. Ethernet cables frequently suffer internal copper pair breaks caused by sharp bends or pinches that remain invisible on the outside jacket.
Using the wrong cable category can also restrict performance or fail to negotiate modern gigabit transmission speeds properly.
Follow these practical hardware inspection checks:
- Test with an Alternative Device: Unplug the Ethernet cable from your SuperBox and plug it into a laptop or gaming console. If the secondary device also fails, the cable or router port is defective.
- Upgrade to Cat6 or Cat7: Replace old Cat5 cables with certified Cat6 or Cat7 patch cords. Higher category cables provide superior shielding against electromagnetic interference.
- Switch Router LAN Ports: Move your Ethernet plug to LAN Port 2 or Port 3 on your router, as individual router ports can develop physical faults or firmware locks.
- Avoid Low Quality Flat Cables: Ultra-thin flat Ethernet cords lack proper internal wire twisting, making them prone to cross-talk and packet loss over longer distances.
Resetting System Network Configuration and Clearing Cache
Temporary network cache files and stalled background connections can corrupt the internal Android networking stack. Clearing accumulated application data removes fragmented routing records safely.
Follow these steps to refresh network application cache:
- Open Applications Menu: Navigate to Settings and select Apps.
- Display System Apps: Click on See all apps to view all active services.
- Clear Streaming App Cache: Highlight Blue TV, Blue VOD, or your preferred player and select Clear cache.
- Restart System Services: Power down your device completely using the remote power menu, wait twenty seconds, and power back on.
For a comprehensive guide on maintaining peak system responsiveness, refer to our tutorial on how to clear cache on superbox.
Restoring Firmware and Network Drivers via Factory Reset
In rare scenarios where network drivers become severely corrupted, neither Ethernet nor Wi-Fi will connect. Experienced technicians confirm that performing a factory reset restores original network driver profiles.
A factory reset erases locally saved user configurations and returns the console to its initial out-of-the-box state.
Follow these steps to perform a complete system reset:
- Navigate to Device Preferences: From the home screen, select Settings and scroll down to Device Preferences.
- Select About Menu: Click on About and choose the Factory reset option.
- Confirm System Erase: Select Factory reset and choose Erase everything to initiate the system wiping procedure.
- Complete Initial Setup: Once the console reboots, follow the setup wizard and re-insert your Ethernet cable.
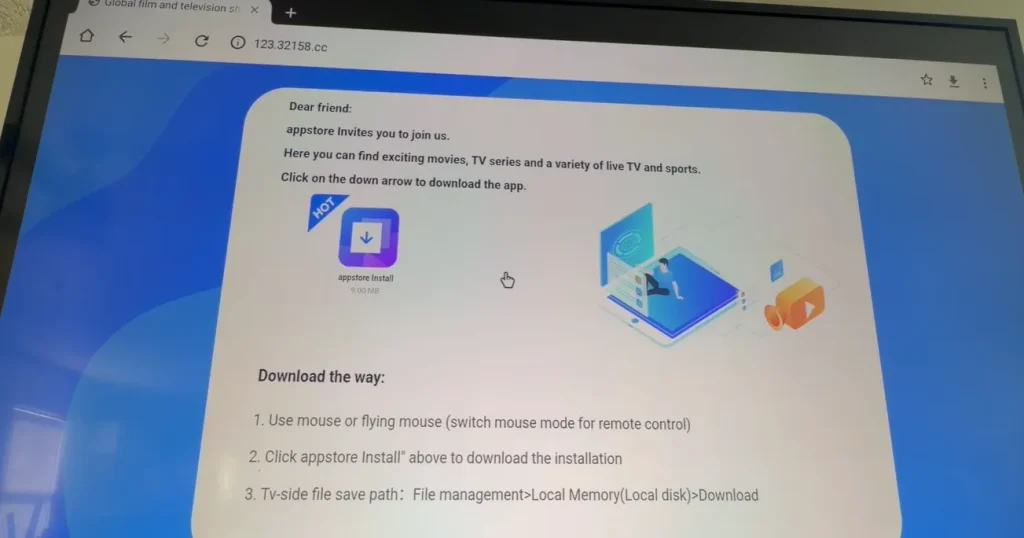
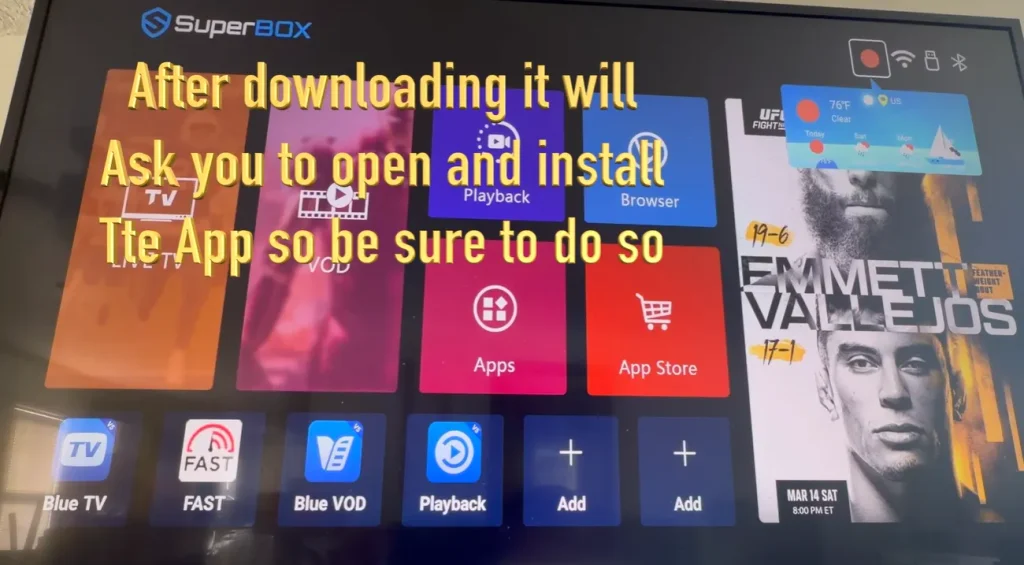
- Reinstall App Store: If the central app store does not appear automatically after the reset, open your web browser, enter 143326.cc, and download the official App Store package.
For detailed restoration walkthroughs, review our guides on how to factory reset superbox and restore superbox app store after factory reset.
Comprehensive SuperBox Ethernet Troubleshooting Matrix
Different network behaviors indicate distinct technical issues along the connection chain. The matrix below matches observable network symptoms with proven corrective actions.
| Observed Ethernet Symptom | Probable Technical Root Cause | Proven Corrective Action |
|---|---|---|
| No Link Lights on Rear Port | Defective cable, bent pins, or inactive router port | Test cable on another device and switch to router LAN Port 2 |
| Ethernet Connected but No Internet | Wi-Fi routing conflict or DNS resolution failure | Turn Wi-Fi Off and configure static DNS to 1.1.1.1 |
| Stuck on Obtaining IP Address | Router DHCP pool exhaustion or IP lease collision | Power cycle router and assign a static IP address |
| Wired Connection Drops Intermittently | Low quality flat patch cord or loose RJ45 clip | Replace with a certified shielded Cat6 or Cat7 cable |
| Neither Ethernet nor Wi-Fi Connects | Corrupted Android network driver stack | Execute a complete system factory reset and re-download App Store |
Video Walkthrough for Resolving SuperBox Ethernet Connection Issues
Visual guides clarify hardware connections and menu settings significantly. The video tutorial below demonstrates practical methods to diagnose and resolve Ethernet connection problems on SuperBox devices.
In this video walkthrough, you will observe how cable checks, power cycles, and system resets restore full wired functionality. Following these visual demonstrations ensures a fast and reliable resolution.
Why Upgrading to SuperBox S8 Ultra Delivers Superior Gigabit Reliability
Older streaming boxes equipped with standard 100Mbps Ethernet controllers can struggle when handling simultaneous 4K streams. Upgrading to the flagship SuperBox S8 Ultra ($449) delivers ultimate wired reliability.
The SuperBox S8 Ultra features an upgraded gigabit Ethernet port capable of 1000Mbps throughput, ensuring lightning-fast channel switching and zero buffer delays. Powered by 4GB DDR4 RAM and 64GB storage, its quad-core processing platform handles demanding broadcasts effortlessly.
With dual-band Wi-Fi 6 backup, enhanced heat dissipation, and optimized network firmware, the S8 Ultra provides the smoothest television streaming experience available today.
Where to Buy Authentic SuperBox Hardware with Warranty Coverage
Purchasing streaming equipment requires complete confidence in genuine hardware, official software access, and dependable warranty protections. Unauthorized resellers often distribute cloned or gray-market units that lack access to official servers.
SuperBox for TV is an authorized SuperBox dealer, ensuring 100% authentic SuperBox S6, S7 & S8 devices with full warranty support in US & Canada. When you order your entertainment console through SuperBox for TV, you receive complete buyer protections:
- Free Shipping: Fast 3 to 5 business day delivery across the United States and Canada with full real-time package tracking.
- Free Lifetime Tech Support: Dedicated technical specialists available 24/7 via live chat, email, and phone for troubleshooting assistance.
- 30-Day Money-Back Guarantee: Hassle-free return policy if you are not completely satisfied with your streaming hardware performance.
- 1-Year Manufacturer Warranty: Full replacement coverage safeguarding against any hardware defects or system component failures.
- 100% Authentic Hardware: Direct factory units guaranteed genuine without modified firmware, unauthorized alterations, or security risks.
If you are setting up your new device for the first time, follow our comprehensive walkthrough on how to set up superbox s7 for smooth installation.
![How to verify SuperBox dealer? Check reseller authorization Full Guide [2027]](https://superboxfortv.com/wp-content/uploads/2026/10/How-to-verify-SuperBox-dealer-768x432.webp "How to verify SuperBox dealer")
Reader Discussion & Verified Reviews
Real feedback, setup tips, and hands-on impressions from verified SuperBox owners and tech enthusiasts.